HOW TO BRIDGE ASSETS TO SOLANA USING RANGO EXCHANGE
Rango Exchange is a bridge aggregator that combines multiple protocols into one platform, automatically finding the best route to transfer tokens from various blockchains to Solana with fees of 0.1-0.3% and quick settlement times

HOW TO BRIDGE ASSETS TO SOLANA USING RANGO EXCHANGE
For users looking to move their assets into Solana, choosing the right bridge can feel overwhelming. With multiple options like Wormhole, Mayan, and Squid, the question is often: which one should I use?
That's where Rango Exchange comes in. Rango is a cross-chain bridge aggregator that combines the power of multiple bridges into one interface, making it possible to transfer tokens from dozens of blockchains into Solana quickly and easily.
In this guide, we'll explain what Rango Exchange is, why it's unique, and how to use it to bridge your tokens directly into Solana.
What is Rango Exchange?
Rango Exchange is a multi-chain aggregator that unifies bridges, DEXs, and cross-chain protocols into a single platform. Instead of locking you into one specific bridge, Rango automatically finds the best available route for your transaction.
When bridging into Solana, Rango may use Wormhole, Mayan, Axelar, or other liquidity routes under the hood — but for the user, the process feels like a simple one-click transfer.
Why Use Rango to Bridge to Solana?
Bridge aggregator: Access multiple bridges through one platform
Direct to Solana: Send assets from Ethereum, BNB Chain, Arbitrum, Polygon, Avalanche, and more into Solana
Flexibility: Supports both stablecoins and native tokens like SOL
Optimized routes: Automatically picks the cheapest and fastest way to complete your transfer
User-friendly: Clean interface for beginners, but powerful enough for advanced users
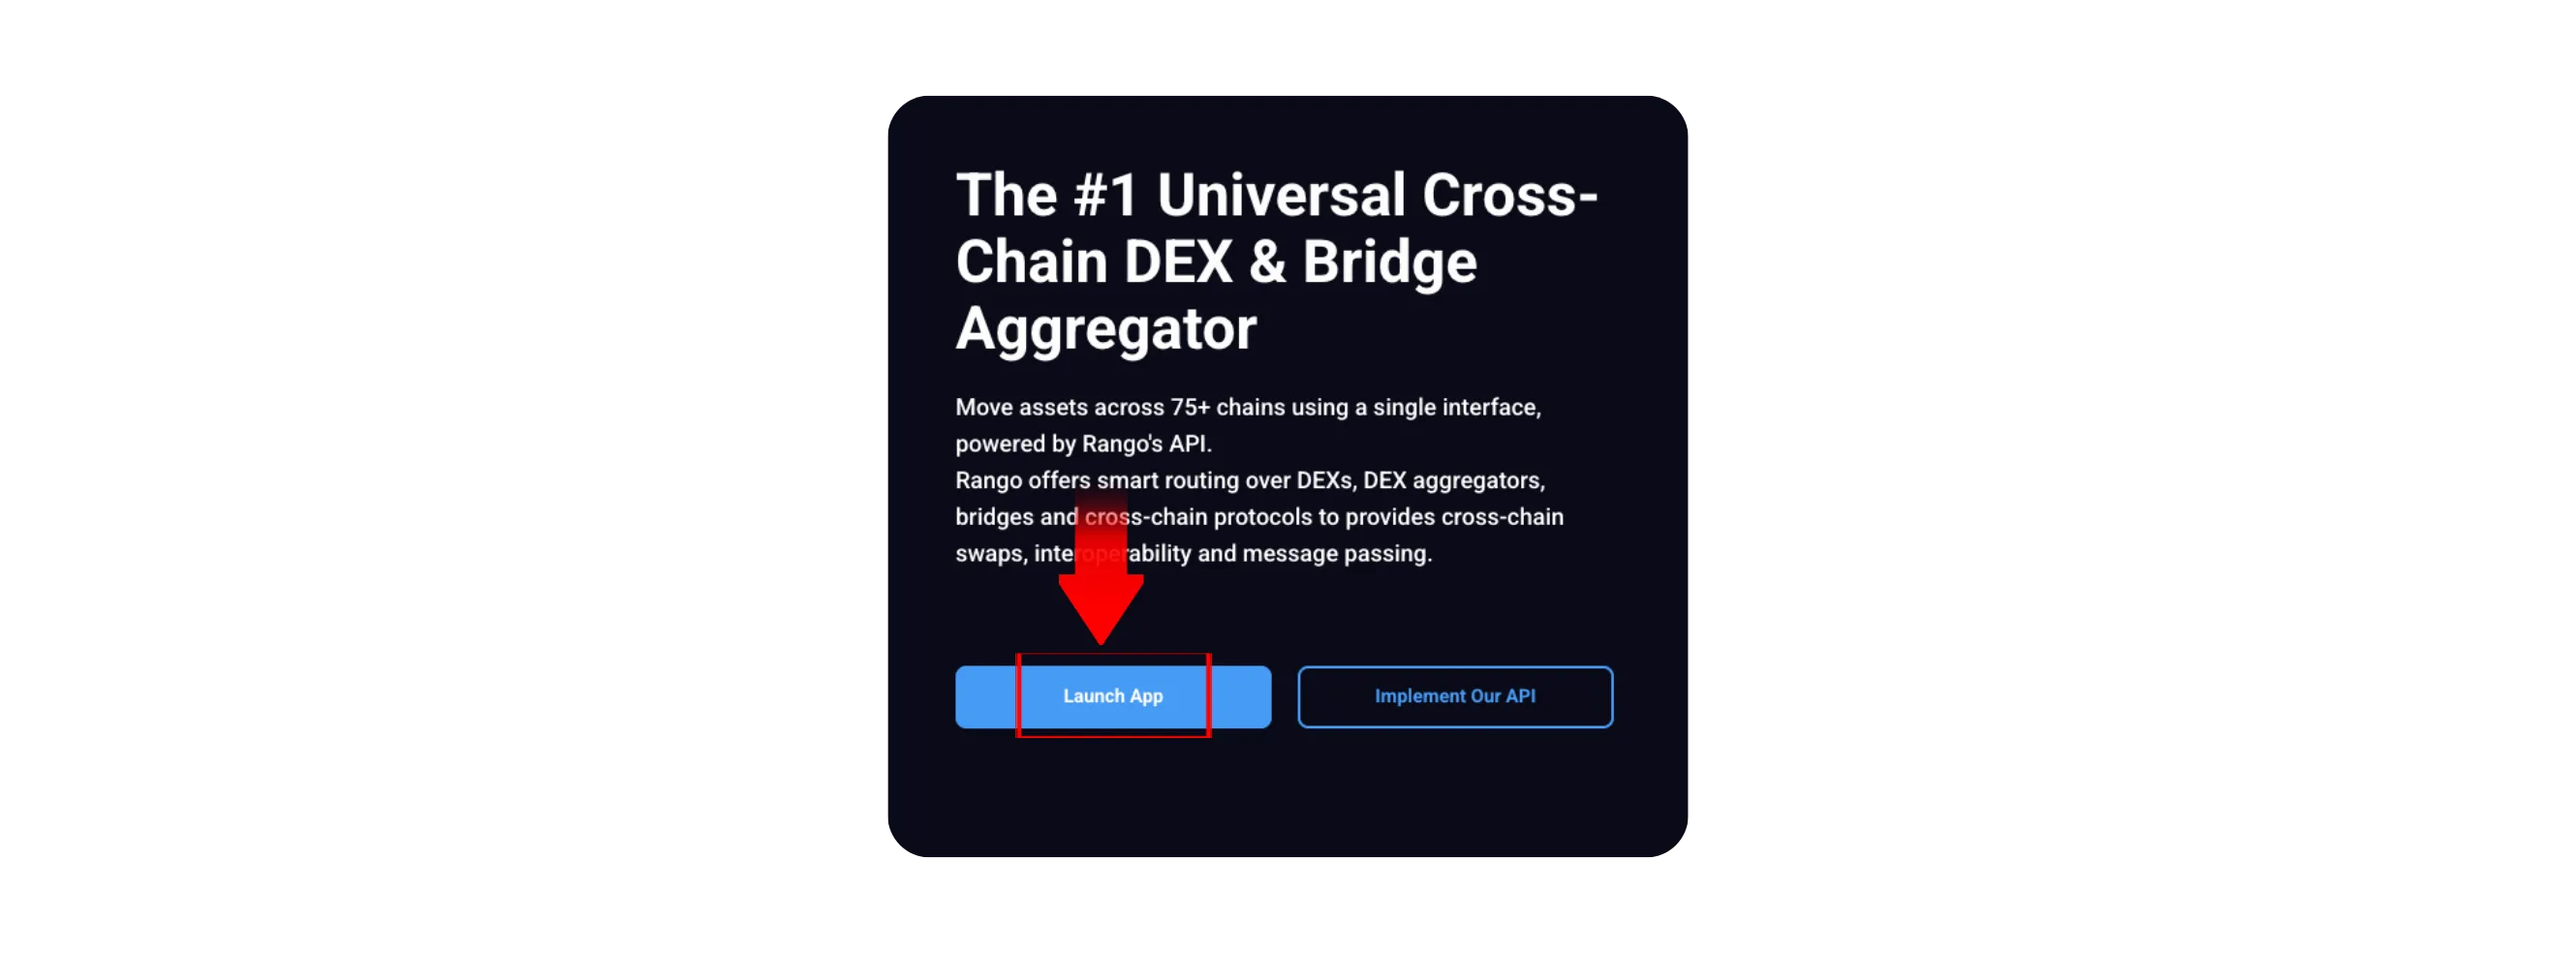
Step 1: Visit Rango Exchange
Go to https://app.rango.exchange *Always check the official URL
Step 2: Connect Your Wallet
*Source chains (Ethereum, Arbitrum, BNB, Polygon, etc.): Connect MetaMask or WalletConnect
*Destination chain (Solana): Connect Phantom, Solflare, or Backpack

Step 3: Select Source and Destination Chains
Choose your starting chain (e.g., Polygon) and set Solana as the destination
Step 4: Choose Tokens
Pick the token you want to send and what you want to receive on Solana *Example: ETH → SOL or USDC → USDC
Step 5: Confirm Route
Rango will automatically suggest the best bridging route (fastest or cheapest)

Step 6: Approve and Pay Fees
Confirm the transaction in your wallet *You'll need gas on the source chain (ETH, BNB, MATIC, etc.)
Step 7: Receive on Solana
After processing, your chosen token will appear in your Solana wallet
Fees and Considerations
*Bridge Fee: Depends on which route Rango uses (usually 0.1% – 0.3%)
*Gas Fees: Determined by the source chain (Ethereum is highest)
*Speed: Most transactions settle within minutes, though complex routes may take slightly longer
Final Thoughts Rango Exchange simplifies the bridging process by acting as a bridge aggregator. Instead of worrying about whether to use Wormhole, Mayan, or Squid, users can let Rango choose the best route and deliver assets directly into Solana.
For traders, DeFi explorers, or NFT collectors who want to move funds into Solana with minimum hassle, Rango is one of the most versatile and reliable options available today.